|
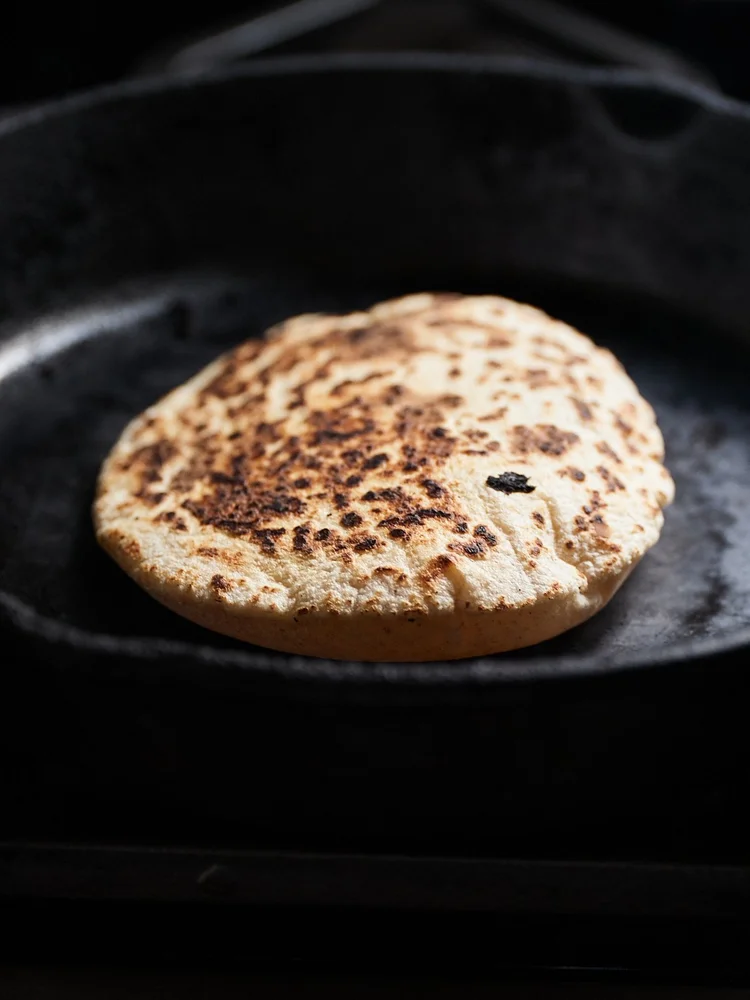
Cassava and Tigernut Roti These grain-free roti or chapati are one of the simplest unleavened flatbreads you can make. I like to add a bit of tigernut flour in with the cassava to give it a nuttier flavor, but if you cannot find tigernut flour near you, you can omit it. Make sure to read these notes before making the recipe. - Cassava is one of the most inconsistent flours in the market; meaning there is great variance on how the flour is milled across brands. My go-to cassava flour is from Otto’s (I am not sponsored by them!). Their cassava flour is very finely milled. If you use a different brand, you might want to test different amounts of water; better to start with less and add as needed. - The tigernut flour is optional, but it does add a nuttier profile, a very slight sweetness, and richer color. If you omit it, start with 180 grams of boiling water. If you have never tried tigernut flour, you might be surprised to know it’s actually not a nut but a tuber. It is super nutritious and perfect for grain-free and nut-free baking. I also love tiger nut milk. My flour is from Anthony’s Goods (again, not sponsored by them). - It is super important that the water is boiling and not just hot. Boiling water will gelatinize the cassava starch creating a more pliable dough that can stretch a bit more. I recommend you start with the smallest amount of water listed and then add more if needed. If your dough is too wet, you might be tempted to add more cassava flour, but at that point, the additional flour will not be cooked by the boiling water and the dough will not be the same. I have made this mistake before and the roti do come together, but they are better when the flour has been mixed with boiling water from the beginning. - You can roll the dough with a rolling pin, but I prefer to use a tortilla press – it’s fast and even. - It is important that your cast-iron pan is very hot when you go to cook the roti otherwise they might not puff up as nicely. Cassava flour tends to be gummy so make sure you cook them enough so the roti is not gummy in the middle. You might have to adjust heat a bit during cooking process so that the pan is hot enough so the roti puff up, but not so hot that they burn. Makes 6 100 grams cassava flour (see headnote) 10 grams tigernut flour (see headnote) 1/4 teaspoon (1 g) kosher salt 190 to 200 grams boiling water (see headnote) 10 grams extra-virgin olive oil or coconut oil · Make the dough. Stir together the cassava flour, tigernut flour, and salt in a medium bowl. Pour the boiling water over the flour and stir with a fork or wooden spoon until you have a lumpy dough. If you see some flour specs that are not wet, continue mixing. The dough will be lumpy and shaggy and won’t be smooth at this stage. Cover the bowl with a towel and let the dough rest for 10 minutes. · Knead the dough. Pour the olive oil over the dough and knead together until it is very smooth. The dough will be warm and it should feel like fresh pasta or play dough. Soft but not too soft. As the dough cools, it will set a bit more. If you are not cooking the roti right away or you have leftover dough, you can tightly wrap the dough in plastic film and keep in the refrigerator for up to 2 days. · Roll the dough. Divide the dough into 6 equal pieces (about 50 grams each). Roll each piece of dough into a tight ball, then roll to a circle that is about 6 inches in diameter and 1/8-inch thick. Use a rolling pin or a tortilla press for this step. · Heat a cast-iron pan over high heat for at least 5 minutes, until it is very hot. If the pan is not hot enough, the roti won’t puff up as nicely. Place the roti dough on the hot pan and cook for 1 to 2 minutes until blistered, then carefully flip over and cook for another 1 to 2 minutes. The roti will puff up, but then deflate. You might have to adjust heat slightly as you cook the roti so they don’t burn. You need enough heat for them to puff up, but not so hot that they will burn. Transfer them to a cooling rack and serve immediately. Once cooled, I like to freeze them tightly wrapped and simply reheat in a hot cast-iron pan.
|